A static site with Pelican, Grunt, Travis & Github Pages
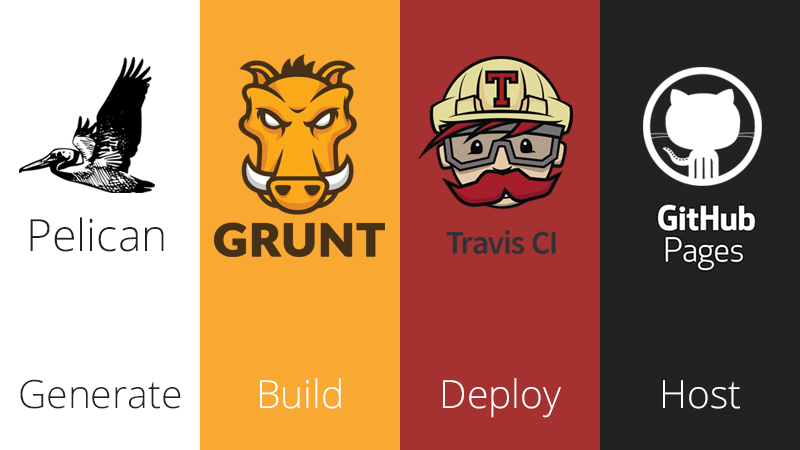
As a Web Developer I decided to create a website(the one you're currently reading) to share my projects and thoughts. After completing my research on what I should use, I ended up using Pelican. Why? No database, markdown, code syntax highlighting, jinja2 and more. Pelican is not one of those fancy static website generators but it does the job and it does it pretty well. Below you can find my setup and how I am using Pelican to generate this website, Grunt as a task manager, Travis CI to deploy and GitHub Pages to host my website.
Contents
Project Structure
Once you setup Pelican and Grunt, your project structure will probably look like something similar to the one below. For your reference you can have a look at my GitHub Repository.
- content/
  - extras/
    - CNAME
    - robots.txt
  - images/
    - logo.png
  - pages/
    - about-my.md
  - first-article.md
  - another-article.md
- theme/
  - static/
    - fonts/
    - images/
    - js/
    - less/
  - templates/
    - article.html
    - base.html
    - index.html
    - pages.html
- .travis.yml
- deploy.sh
- Gruntfile.js
- package.json
- pelicanconf.py
- publishconf.py
Pelican
I will only refer to a couple of settings that are specific to my setup using the rest of the services (Grunt and Travis). You can have a look to my setup at my GitHub Repository.
More about the Pelican settings can be found at the official docs which I found well documented! So pretty much the default settings apart from one thing. STATIC_EXCLUDE makes sure that the diretory themes/static/ won't be copied to the output(new feature at Pelican 3.5.0). Why? Grunt will do its thing with static files and once it is done, it will copy them inside the output folder.
# Theme

OUTPUT_PATH = "output/"
THEME = "theme"

# Extra Path Metadata

STATIC_PATHS = ['static', 'images', 'extra/robots.txt', 'extra/CNAME']
STATIC_EXCLUDE = ['static']
EXTRA_PATH_METADATA = {
'extra/robots.txt': {'path': 'robots.txt'},
'extra/CNAME': {'path': 'CNAME'},
}
Grunt
The player of my setup. I really like to keep things simple. Instead of opening different tabs to run Pelican from a virtualenv and generate LESS files etc. I want to have everything in one tab and without having to activate the virtualenv. You may think that I'm being lazy but I want it to be really simple. grunt serve will launch your browser with your website and will also watch for any changes. Deployment? grunt deploy(run by Travis CI) will generate the pelican website and will also do the rest of tasks. So let's dive into Gruntfile.js. Once again you can find those settings at my GitHub repository.
module.exports = function(grunt) {
  grunt.loadNpmTasks('grunt-contrib-clean');
  grunt.loadNpmTasks('grunt-contrib-connect');
  grunt.loadNpmTasks('grunt-contrib-copy');
  grunt.loadNpmTasks('grunt-contrib-less');
  grunt.loadNpmTasks('grunt-contrib-watch');
  grunt.loadNpmTasks('grunt-shell');
  grunt.loadNpmTasks('grunt-sitemap');

  grunt.initConfig({
    shell: {
      generate: {
        command: 'env/bin/pelican content -s pelicanconf.py',
      },
      deploy: {
        command: 'pelican content -s publishconf.py',
      },
    },

    less: {
      options: {
        cleancss: true,
      },
      main: {
        files: {
          'theme/static/css/style.css': 'theme/static/less/style.less',
          'theme/static/css/mobile.css': 'theme/static/less/mobile.less',
        },
      },
    },

    watch: {
      files: ['content/**/*.md', 'theme/**/*.*'],
      tasks: ['build'],
      options: {
        livereload: 35729,
      },
    },

    copy: {
      main: {
        expand: true,
        cwd: 'theme/static/',
        src: ['**', '!less/**'],
        dest: 'output/static/',
      },
    },

    sitemap: {
      dist: {
        homepage: 'http://www.iamemmanouil.com/',
        pattern: ['output/**/*.html', '!node_modules/**/*'],
        siteRoot: 'output/',
      },
    },

    connect: {
      server: {
        options: {
          port: 9000,
          livereload: 35729,
          base: 'output',
          open: true,
          debug: false,
        },
      },
    },

    clean: {
      build: {
        src: ['output/*'],
      },
    },
  });

  grunt.registerTask('build', [
    'clean',
    'less:main',
    'shell:generate',
    'copy:main',
    'sitemap',
  ]);
  grunt.registerTask('serve', ['build', 'connect:server', 'watch']);
  grunt.registerTask('deploy', [
    'clean',
    'less:main',
    'shell:deploy',
    'copy:main',
    'sitemap',
  ]);
};
grunt build: Run by grunt watch when anything inside our content or theme directories changes.
grunt serve: Builds the project, runs a static web server, launches the browser and watches the files for any changes.
grunt deploy: Will be called by Travis. Does pretty much the same with grunt build but it runs a different command (different Pelican settings-no virtual environment needed).
Deploy with Travis CI
So Travis will install our requirements from pypi and then our packages listed in the package.json file. The it will run grunt deploy to generate and finally will run our deploy script.
Source: .travis.yml
branches:
only: src

language: python

python: "2.7"

env:
global:
secure: 123123...123123

before_install: npm install -g grunt-cli

install: - pip install -r requirements.txt - npm install

script: - grunt deploy

after_success: - bash deploy.sh
Source: deploy.sh
The key for this setup. Once Travis runs grunt deploy and our website is generated, the deploy script will empty our master branch(the one that contains our generated website) and will finally copy our website there. That's all! Once we push to our src branch, Travis will do its thing and will update our website.
##!/usr/bin/env bash
BRANCH=master
TARGET_REPO=ekonstantinidis/ekonstantinidis.github.io.git
PELICAN_OUTPUT_FOLDER=output

echo -e "Testing travis-encrypt"
echo -e "\$VARNAME"

if [ "$TRAVIS_PULL_REQUEST" == "false" ]; then

    if [ "$TRAVIS" == "true" ]; then
        git config --global user.email "user@github.com"
        git config --global user.name "ekonstantinidis"
    fi

    # Using token clone gh-pages branch
    git clone --quiet --branch=$BRANCH https://${GH_TOKEN}@github.com/$TARGET_REPO built_website > /dev/null

    # Go into directory and copy data we're interested in to that directory
    cd built_website
    rsync -rv --exclude=.git  ../$PELICAN_OUTPUT_FOLDER/* .

    echo -e "Remove previous version of website\n"
    git rm -rf .
    git clean -f -d
    git commit -m "Rel 1.5 - Empty the branch before pushing($TRAVIS_BUILD_NUMBER)"
    git push -fq origin $BRANCH > /dev/null
    cd ..

    echo -e "Starting deployment on Github Pages\n"
    # Using token clone gh-pages branch
    git clone --quiet --branch=$BRANCH https://${GH_TOKEN}@github.com/$TARGET_REPO built_website > /dev/null

    # Go into directory and copy data we're interested in to that directory
    cd built_website
    rsync -rv --exclude=.git  ../$PELICAN_OUTPUT_FOLDER/* .

    # Add, commit and push files
    git add -f .
    git commit -m "Travis build $TRAVIS_BUILD_NUMBER pushed to Github Pages"
    git push -fq origin $BRANCH > /dev/null

    echo -e "Deploy completed\n"

fi
GitHub Pages
It's not that it's free nor that its really easy to use. Maybe it's that its serves your files straight from your repository. GitHub Pages make things really simple. As you can see above, all we had to do was to place a file named CNAME in the root of our master branch and that will allows us to use a custom domain!
Any questions, ideas or suggestions just drop a comment below :)